How to shorten straps on a bra already made
Whether you have a pre-bought bra or have made one and you put it on only to discover the straps are too long but everything else is fine, there is an easy way to sort and shorten those straps. You don’t even need the correct colour thread as you won’t see your stitching.
If you have a short torso including the length form the top of your bra to your shoulders then chances are you will find that once you have shorten the strap as far as you can go you still feel like it need to be made shorter.
If you have a front strap and back strap on a bra, always shorten the back elastic strap otherwise the ring from the front strap will be too high up on top of your shoulder and dig in.
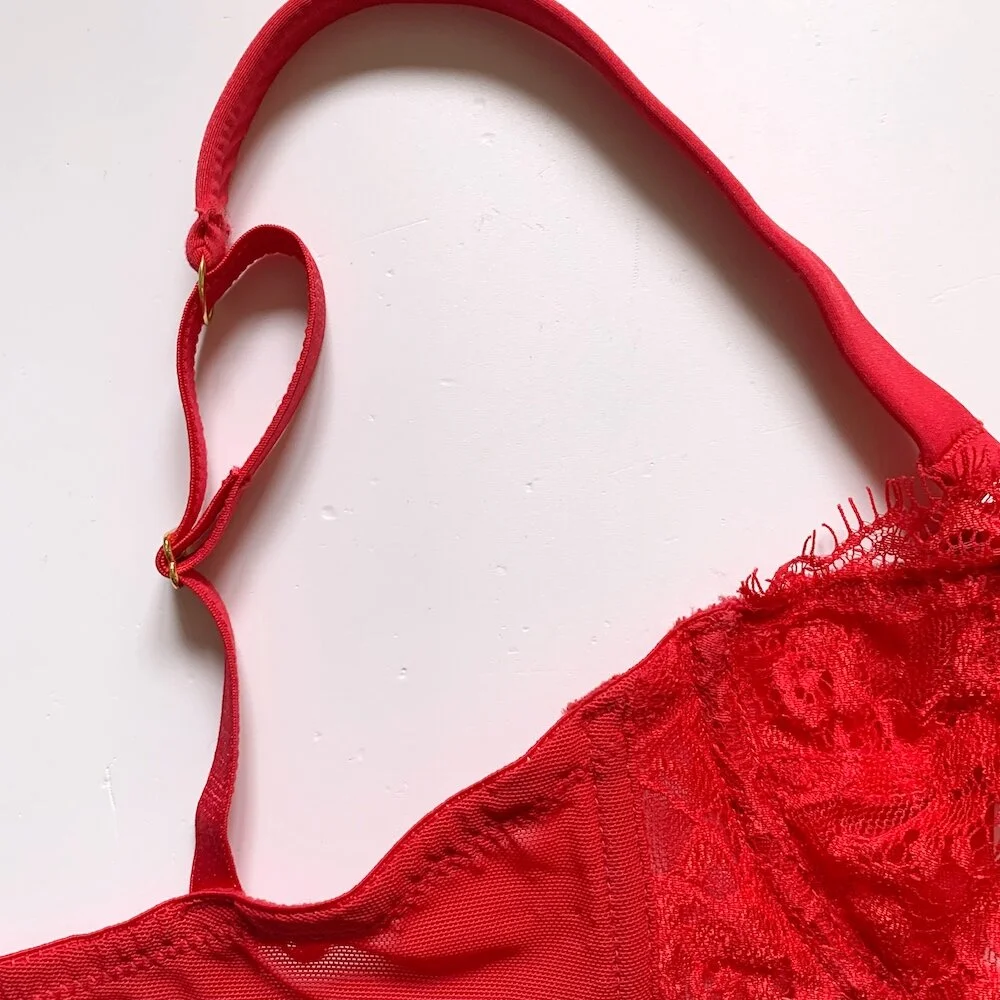
bring the slider up about 1/2 way on your strap.
Turn your bra over so you see the back of the strap.
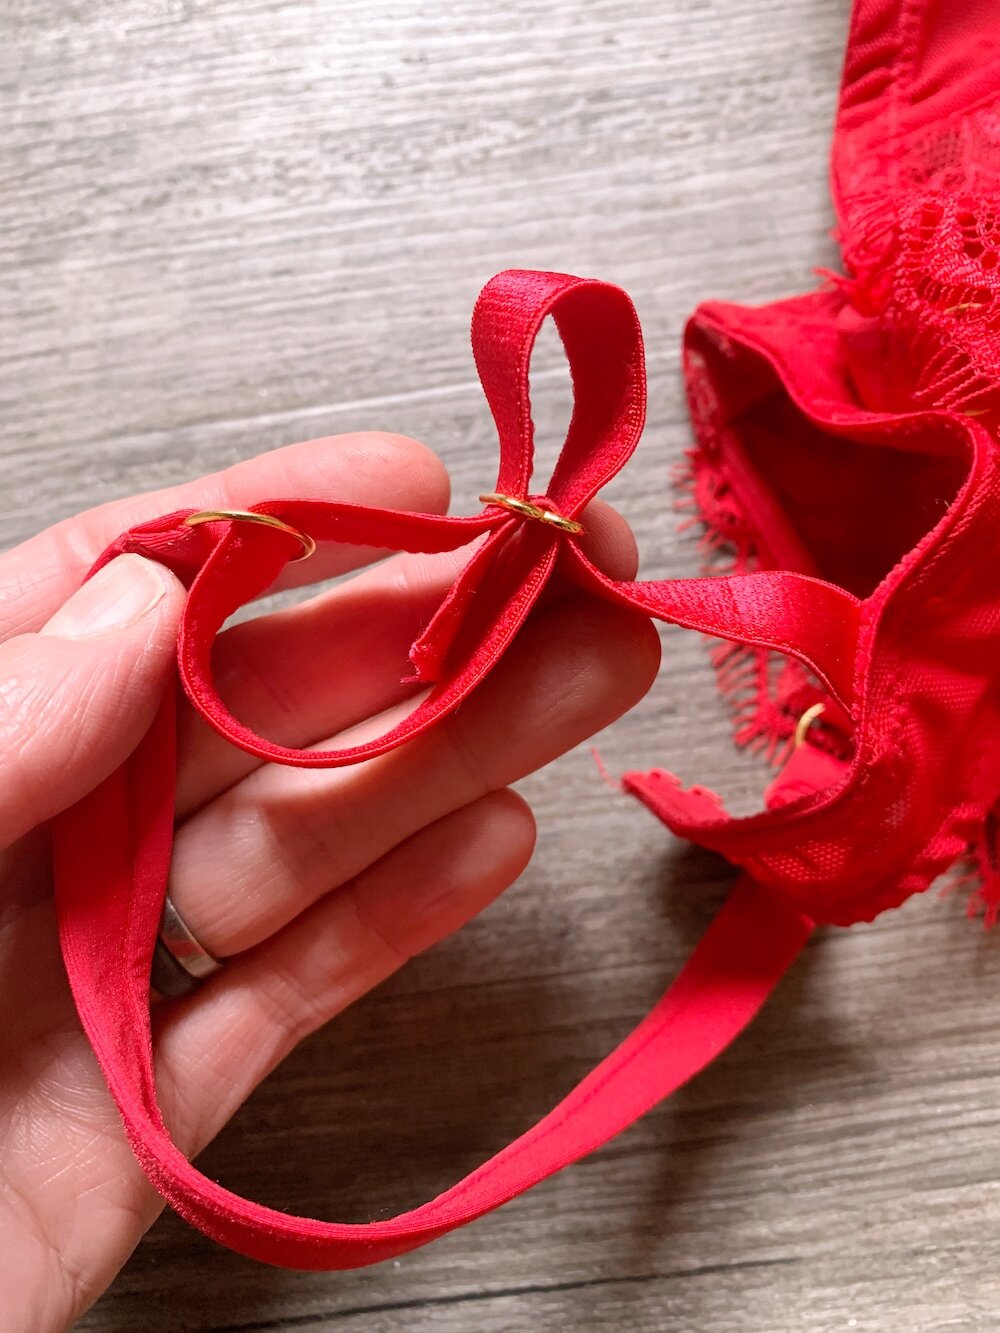
Thread the top part of the strap up away from the slider so you have a loop.
4. chop off the inner part of the strap where it is threaded through the slider, remove that bit you’ve chopped off and then cut off another further 5cm (approx) off the strap.
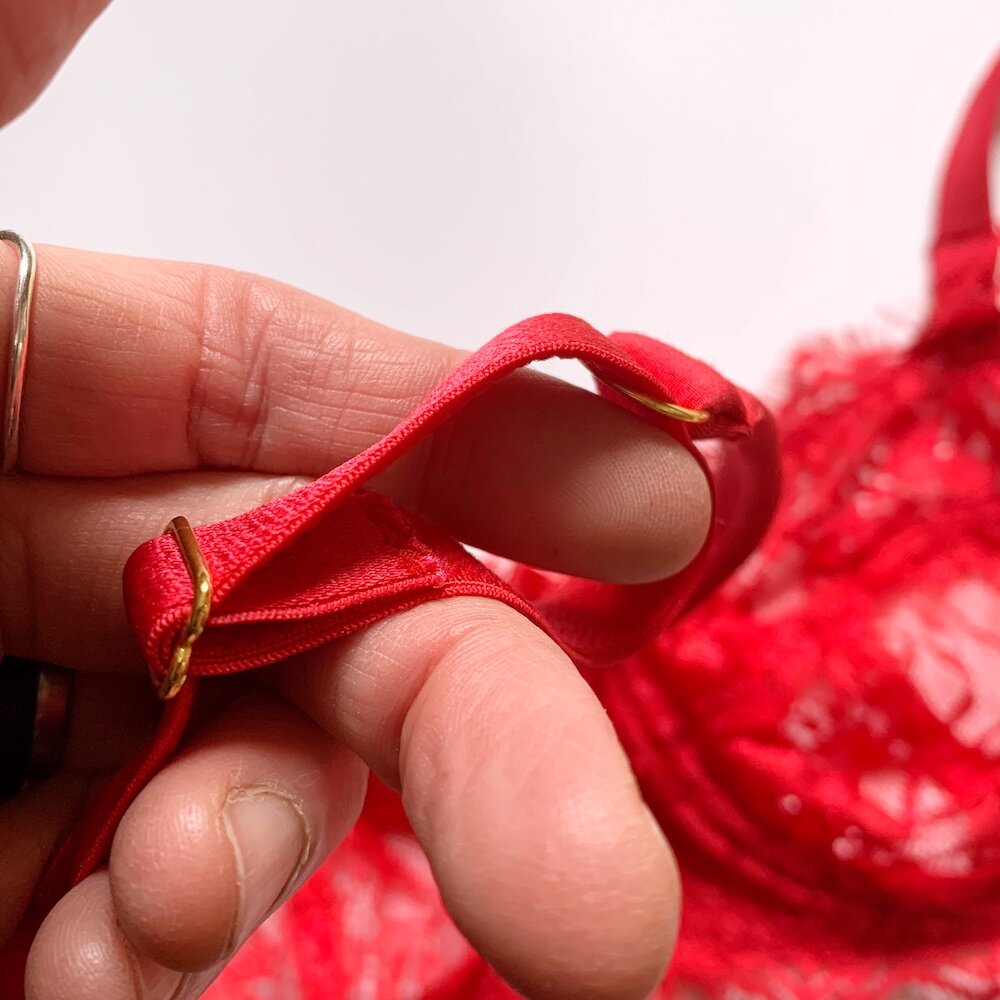
5. Re-thread the strap through the slider (the loop strap will give you space to do so), you want to go up over the slider bar and down so that the end piece is in between the outer and inner strap.
6. With the strap still up in a loop , sew down the end of the strap to the strap (the inner part of the strap. Colour match the thread if possible, but if you don’t have the right colour, just remember you won’t see your stitching when you are wearing your bra, as the top of the stitching is concealed by the strap, and the underside is next to your body.
7. Trim off any thread to neaten.
I’ve been doing trial ‘how to video’ but upon editing it so so very boring that I axed it, I’m not there yet but will keep going until I have ones I like.
If you are wanting to save this article to read later, for ease please save the image below.


