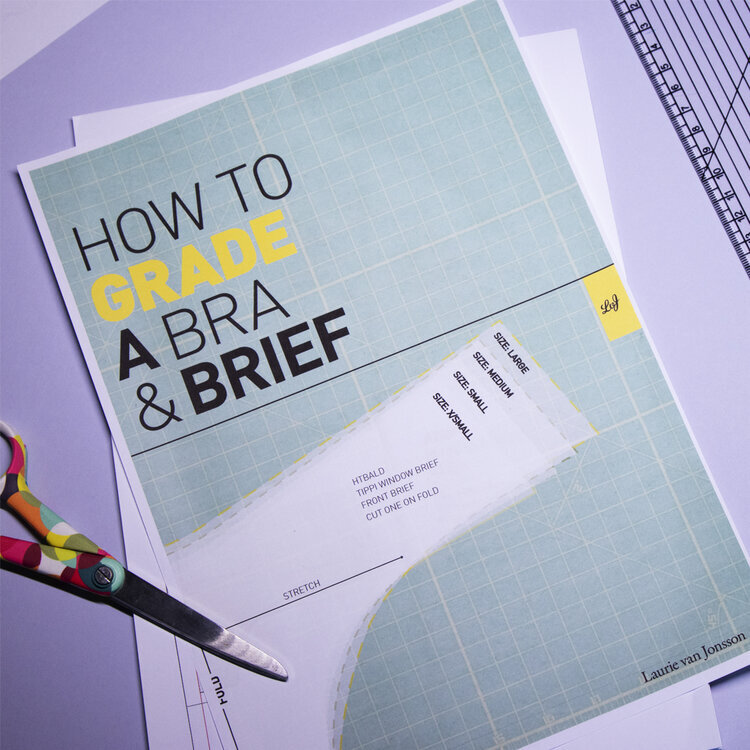
How to grade a brief
I always start the grade the same with every pattern I work how how much the pattern grades by and then where to put the grade points.
Each point on the pattern will have a grade number (even if that’s zero), then after I’ve worked that out I start from the top and go clockwise round to ensure I hit every grade point. This isn’t always necessary when grading a brief but when you get to more complicated patterns then it’s good to have a system.
The grade rules for a brief is 1cm increase in the front and 1cm increase in the back depth and then 5cm across the brief (in the round) so 2.5cm increase in the front width and 2.5cm in the back brief width.
These are grade measurements for the core sizes, when you move into plus sizes the grades start to differ.
Draw your brief and mark in how much everything will increase by
Mark in at each poin how much you will grade the pattern by
Draw a cross on your paper
Draw in a horizontal line 1cm up from the horizontal line of the cross
From the vertical line to the right draw a line 1.2cm away
Place the pattern in half matching the (first) vertical line with the edge of the pattern
Draw around the pattern and mark in the first horizontal line over the pattern
Shift the pattern up, so that the line on the pattern now matches the top line, add in a pen mark for the new pattern
Shift the pattern out so that the pattern edge matches the second vertical line, mark around the side seams for the new pattern size.
Join the two new line at the top waist
Angle the pattern from the gusset area to the side seam and join the lines.
You have just graded the front pattern piece.
If you would like to see the grading video please scroll down
For those who wish to learn more about grading there is a grading book that you can delve into or a course which includes one-to-one sessions.


