Lingerie course Designing and making briefs
This wasn’t the first e-course I was was going to release, in fact I’ve been recording videos for the other lingeri-e-courses for awhile. However following a conversation with a client who expressed her desire to be supported through designing a brief from idea through to finish.
So I’ve come with a six session course, to go through patterns, alterations, designs and grading. So by the end of the course you are confident to make, fit and design bespoke briefs.
Below is the full outline of the course.
Run over six sessions, this course ‘Designing and Making Briefs’ is a very hands on approach to designing and making your briefs. Each session will be a video call for a hour with support throughout and will cover the fundamentals of designing a brief.
A perfect way to start to be a lingerie designer.
The course Designing & Making a soft bra and Designing and Making an underwire bra will be out shortly.
Each session will be a video call for a hour with support throughout and will cover the fundamentals of designing a brief.
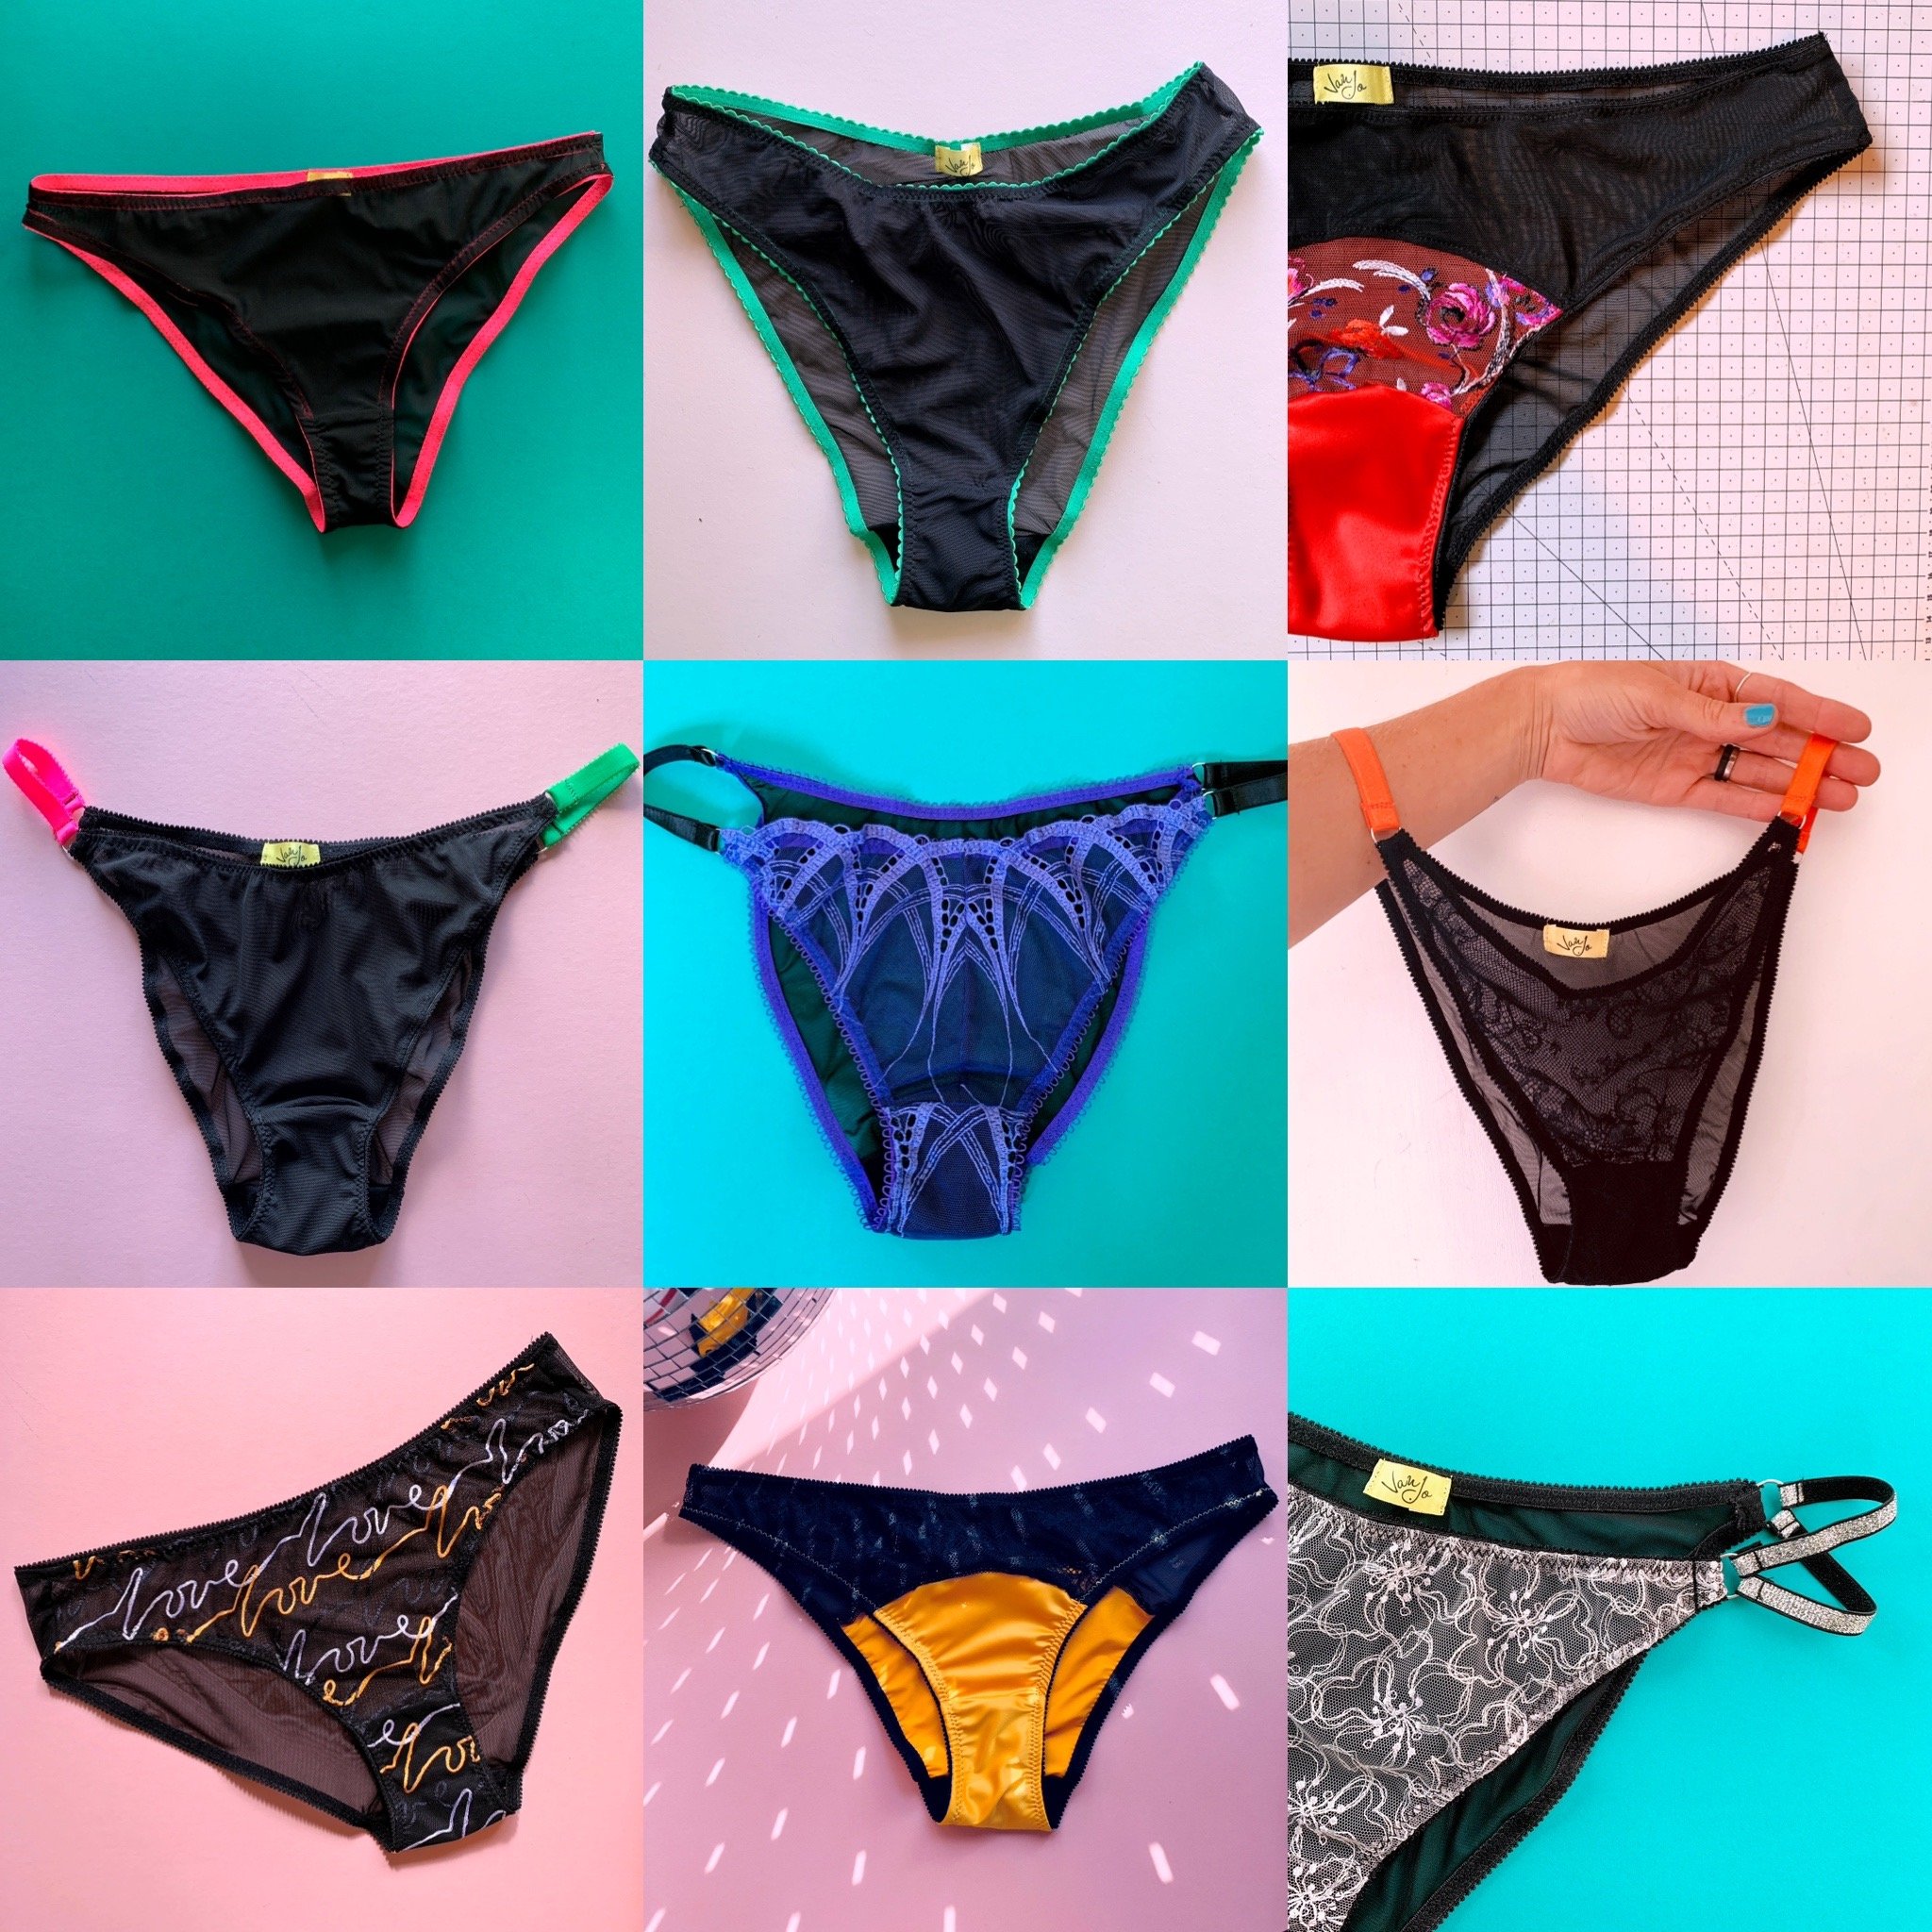
Before session one you will be sent three different brief patterns with instructions to make - you can make them before or after session one (or throughout the course).
Session One - Sewing, Fabrics & Sample sheets
We will cover fabrics and different trims, tips on sewing and the make up of a brief. A sample sheet will be sent to you after the session, I will go through with you how to fill it in. The sample sheet is equivalent to the construction page and fabric page of a tech pack. Sewing lingerie yourself you don’t need a tech pack, but you will need a place where you note down what your lingerie is made from and any important sewing procedures.
I will also show you briefs made from the patterns that I previously sent you. If you have made them we can go through your sewing and any problems you encountered.
Session Two - Altering a pattern after fits
We will look at the patterns and how you alter a pattern after fits, this can be from the sample you have made, or we can take examples that I show you, or both. You will include but not be limited to, how to increase/decrease waist height, how to add into the legs, how to pinch out excess fabric and how narrow you go go with the gusset. Being able to alter a pattern after fits will enable you to be able to work from any pattern and get it to the fit you like.
Session Three - Altering a Pattern with new style lines
We will look at altering a pattern into a new shape or new style lines, this can be into one of your designs or into examples I show you or both. Once you have a base pattern that fits you, if you can alter that pattern rather than start from scratch so your fits and brand lingerie shapes are consistent.
Session Four - Measuring a Brief
We will covering measuring a brief and writing a spec sheet, this is a great introduction for grading. Knowing how to measure your brief will allow you know you are on track with your sewing and your grading. And if you ever outsource your lingerie to be made elsewhere you have your spec sheet done.
Session Five - Understanding Grading
You will be shown how to work out where to put the grade on each pattern piece before you begin, I will show you the grade cross bar and how to hand grade a pattern, you will be able to follow and check your pattern as the patterns I first sent you are graded.
Session Six - Grading your design
We will work through your designs to grade them. If you haven’t a pattern you are happy with by this stage, I will create mini patterns from your designs to show you exactly how they will be graded.
Who is this course for?
Those wishing to launch a lingerie brand and sew everything themselves. Whether you plan to design and make your briefs or are a home sewer wanting the perfect fit. If you are designing but are wanting a factory to make your designs, this course might be a bit too much hands on, unless you are providing the factory with patterns. PLEASE NOTE this course only covers briefs, soft bras and bras will be course will be out later.
FAQ
How long will this course take? I recommend 3-8 weeks, each session can be tailored to your availability so if you want more than one session per week, we can work to that, or if you need longer than one week then we can work to that. I find after 8 weeks momentum is lost.
What if I get stuck in-between each session? You have full support throughout, I can be contacted either by email or text and answered within 24 hours. I will also check in with you through out.
Do I need to be able to sew at this stage? You don’t, we can through everything and I can guide you through examples, it is always easier if you have a sample as I find you learn quicker hands on rather than theory. But you can practise your sewing throughout the course and I can look and give you tips throughout.
Is each session set in stone? No, if you are an amazing sewer, we can cover this session briefly and go deeper into another session. As each session is a video call we can move at your pace and go as deep into each session as you like.