
How to grade a high waist brief
I haven’t done a grading post for awhile but this year I will be giving more examples of grading to help you see that once you learn the rules, you learn the rules and can apply this to any pattern and grade your lingerie.
This week we are looking at a high waist brief with a triangle panel back.

First when I start a grade I look at each pattern and work out how much each point on the pattern has to grade by.
The grade rules: The height always increases by 1cm and the width by 5cm (2.5 on the half, so 1.25cm on the quarter)

To start - I always move the pattern up first then out,
The front is the easy part it goes up 1cm and out by 1.25cm. (If you are grading by hand then to grade one piece by 1.2 then the next by 1.3 is fine as you pen line is about 1mm so the accuracy in this grade will differ by 1mm to start with).
The red line and dash at the gusset area, indicates that this part will not move out or up. This is where the gusset sits and the gusset doesn’t grade.
The back goes up by 0.5 and out by 1.25cm and the inner part of the Centre back goes up by 0.5 and out by 0.6, this in turn makes the waist increase by 0.6 (and 0.65cm) in each section, and the back has increased by 1cm in total.
The key point to note when you have a piece split into more than one is to add the grade as equal as possibly to each piece to make the full amount of the grade.
The reason the side goes out by 1.25cm is you need to gain that width across the brief so the lower part goes out by that amount, so the side seam at the top of the waist follows otherwise you would get a weird angle of your side seam. You then need to think about the top of the waist the back panel is increasing by 0.6cm, so that means the total of the waist stand at 1.85cm, so you need to move the point at the back waist by 0.6cm so each piece is only grading by 0.6/0.65cm. This also allows for the triangle part and the brief it meets to grade at the same angles.

Whenever you have two sides of the pattern meeting you always (if possible) need to grade each point the same so the angles stay the same and the design features stay the same in the smaller size and the larger sizes. So in this case it was the back piece grading up by 0.5 and out by 0.6, where the points of the pattern met.
If you wish to learn more about grading please read this book.
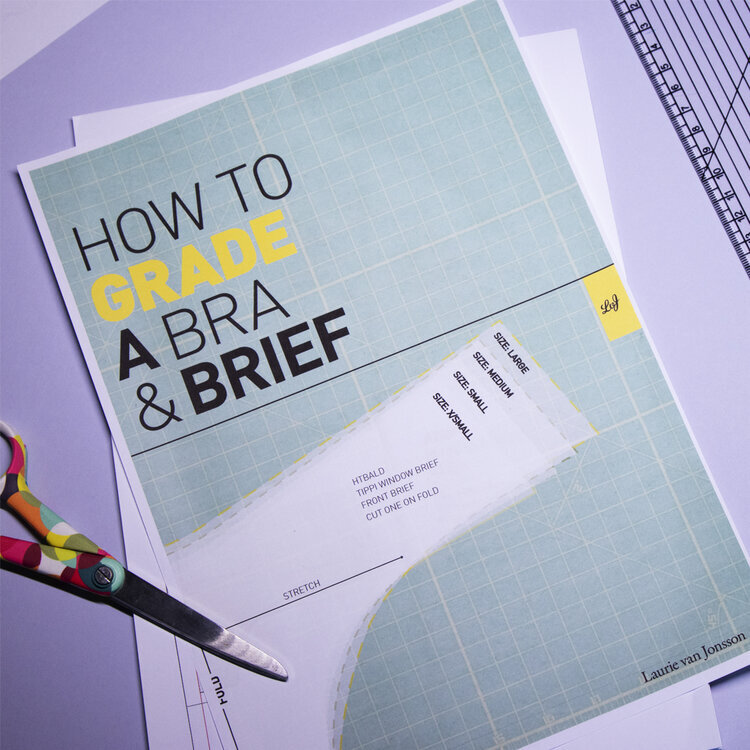
Master Bra & Brief Grading—Your Lingerie Designs Deserve the Perfect Fit!
Stop getting stuck at the sampling stage! Whether you're an aspiring lingerie designer or already in the industry, this is the book you need to confidently grade bras and briefs like a pro.
With easy-to-follow, step-by-step instructions, you'll learn exactly where and how to place the grade to ensure a flawless fit every time. Each pattern piece is visually demonstrated, showing you precisely how it moves, so there’s no guesswork involved.
By the end of this book, you’ll:
- Know exactly how much a bra and brief should grade by
- Understand where to place the grades for a perfect fit
- Confidently adjust patterns without compromising the design
And if you ever get stuck? Snap a pic of your grade (along with your order number), send it over, and I’ll personally help you troubleshoot!
Don’t let grading hold you back—grab this book now and bring your lingerie designs to life!
If you wish to come back to this article, please pin the below image
