
How I write out a spec sheet for a brief
For a basic brief I will put the minimum of eleven measurements on the specification sheet.
1/2 waist relaxed
1/2 waist stretched
Front rise
Back rise
Gusset length
Front gusset width
Gusset at narrowest point
Back gusset width
1/2 leg relaxed
1/2 leg stretched
Side seam length
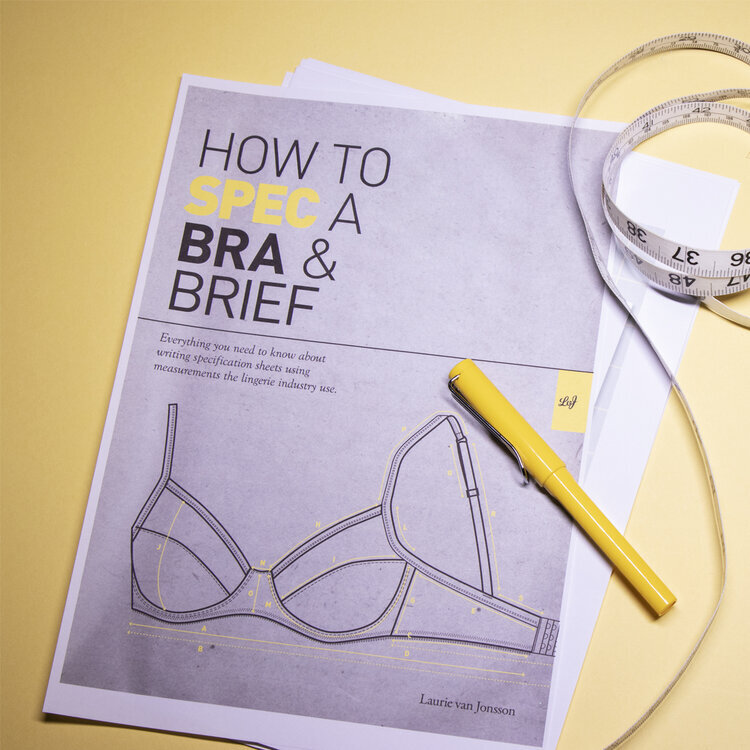
*picture of “how to spec a bra and brief book’ with pair of briefs
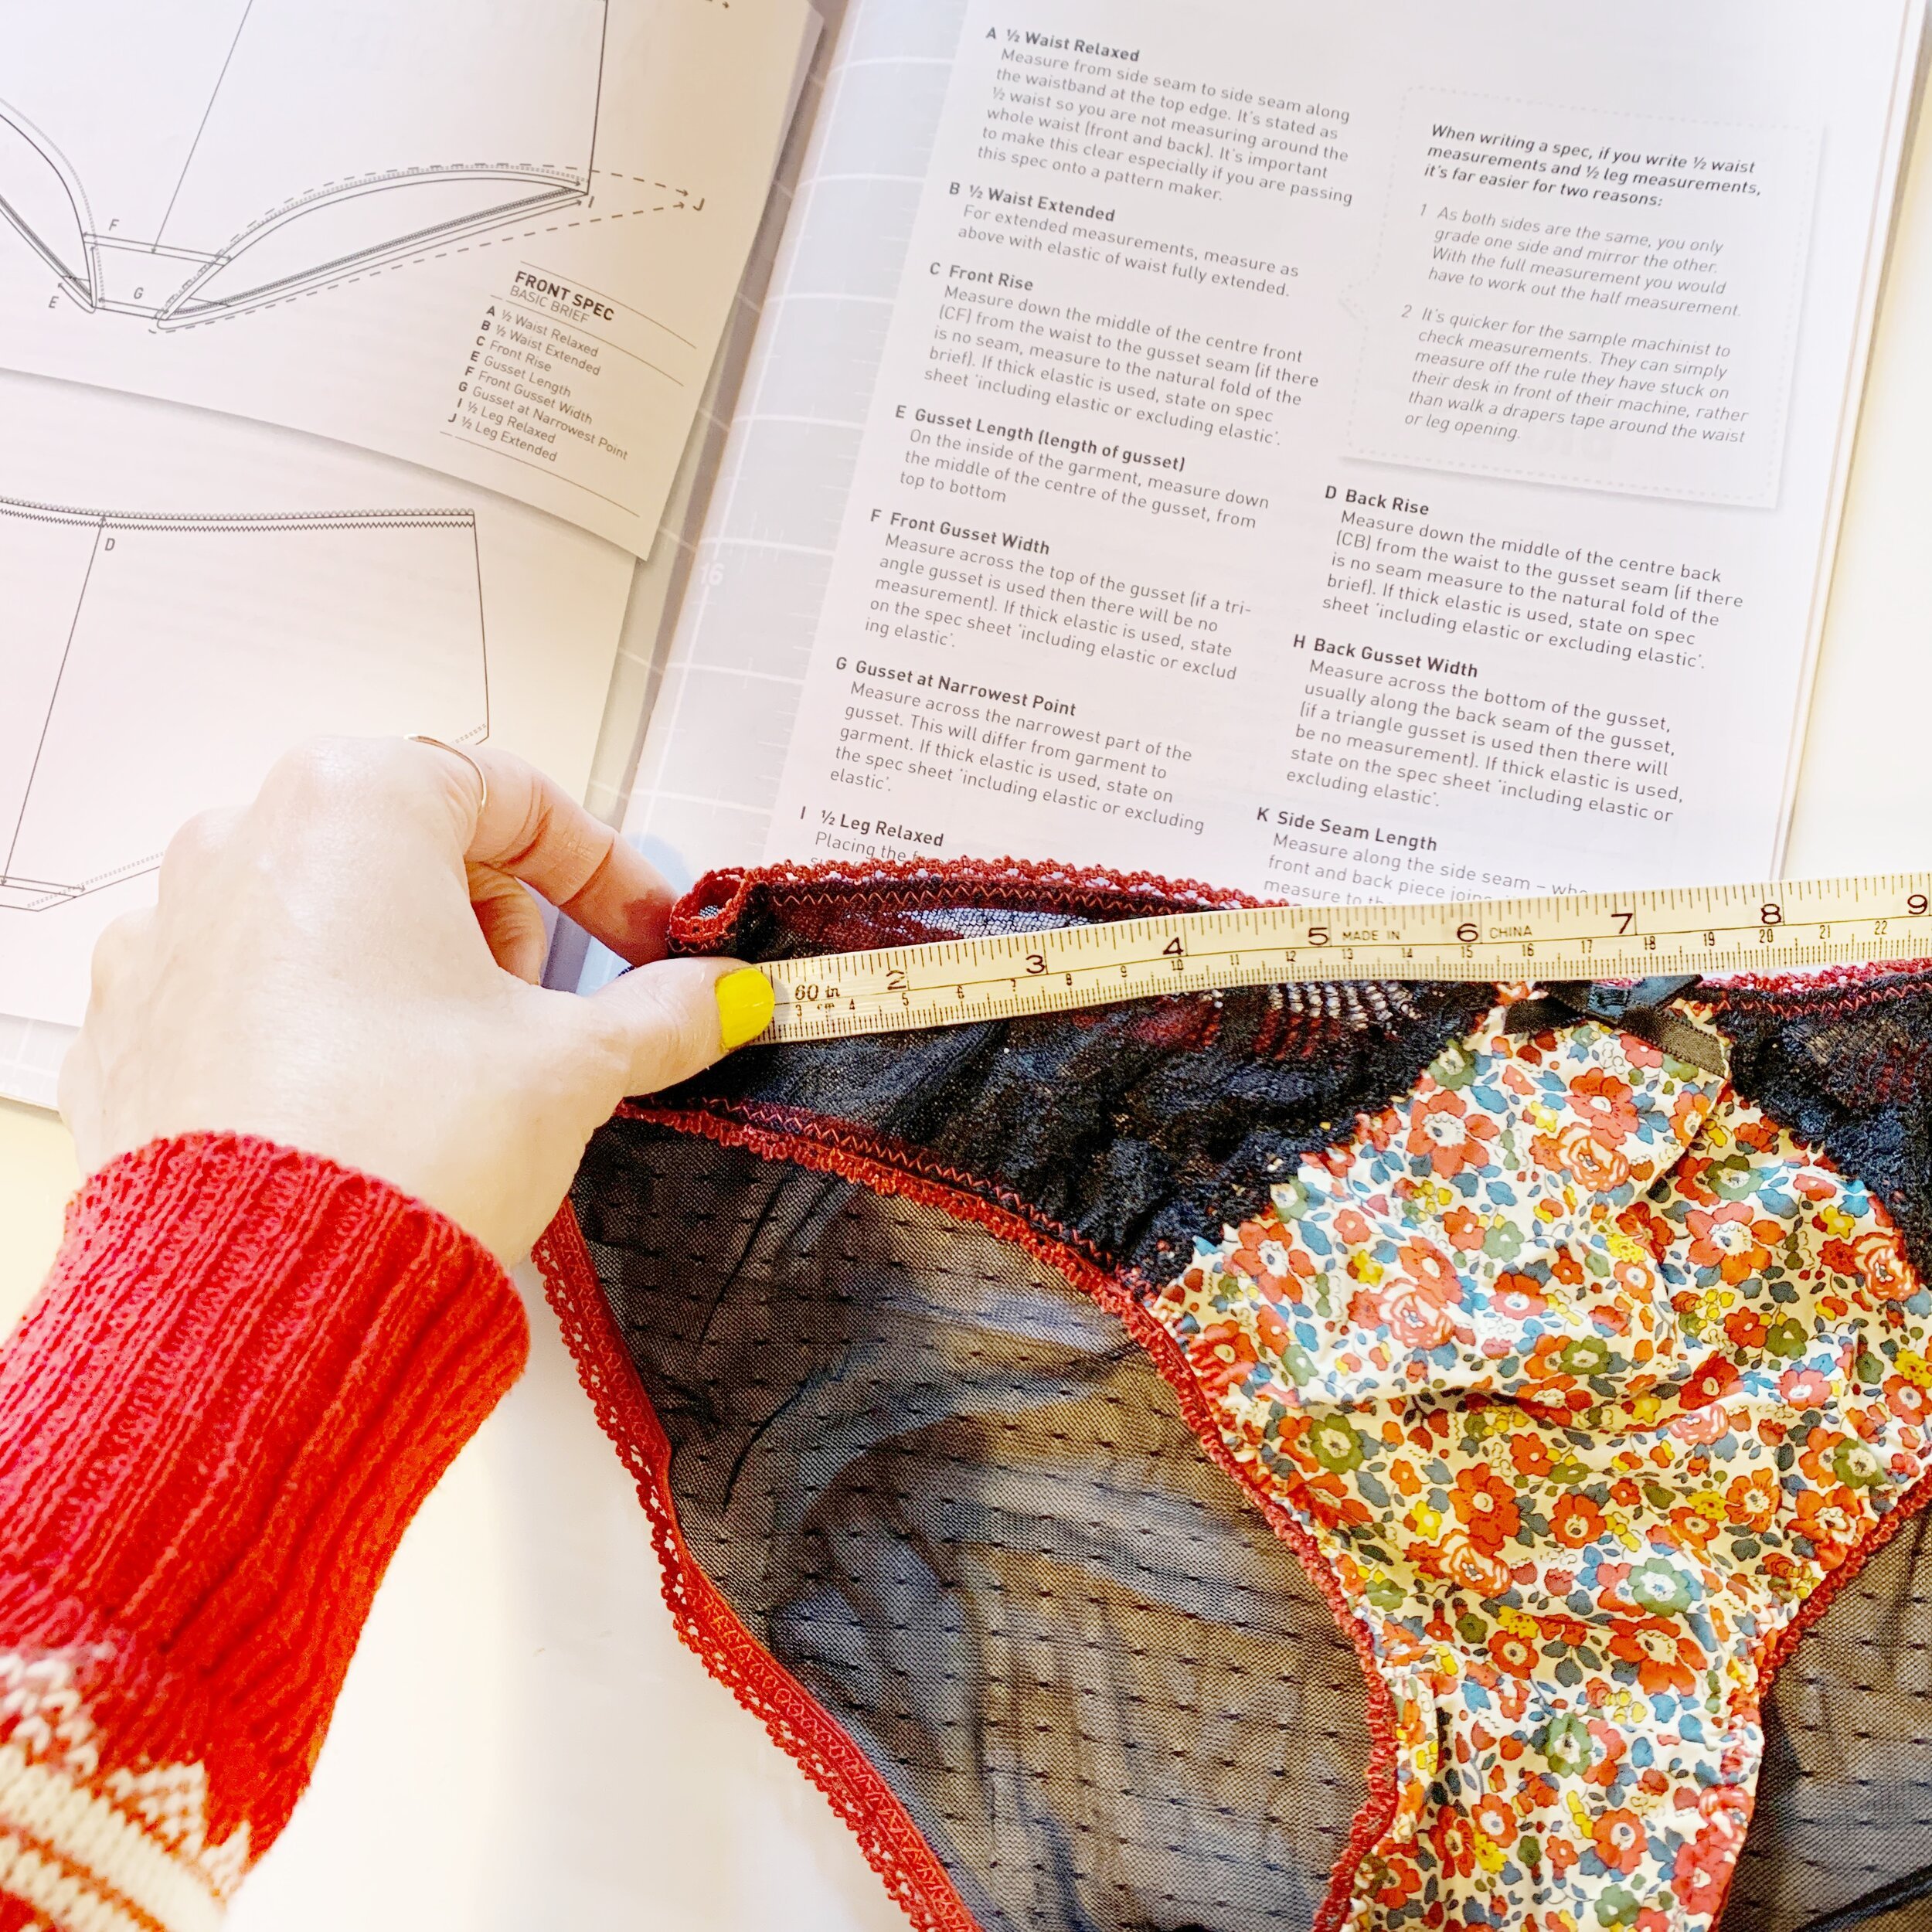
Some people like to omit the gusset at narrowest point, but I always add it as no wants their brief to up and disappear if you get my drift? And if you don’t get my drift then in layman terms you don’t want the gusset so narrow that it doesn’t sit flat and start to emigrate up towards your vagina! (for a heads up don’t go below 4cm on a brief).
For the waist and legs measurement I have the tape laid flat on the table, so I can use both hands to get the stretch measurement. With the other measurements it is just want is easier, sometimes the tape is flat other times I hod the tape and take the measurement.
The spec sheet can be written two ways, after your first sample you take the measurements from the sample, I usually take this method if I am making the sample, as when making up the sample rather than go on fixed measurements I go my look and intuitively pull the elastic to where I want it. This can save time if you are passing your production on, as a sample has been made, so an accurate spec has been made, and if you needed to reduce the front say by 1cm then this can be easily worked out.
What I do if I have just the pattern and I am passing it onto a sample machinist is I measure the pattern, (for example for the waist measurement) I take 1.2cm off for seam allowance then if it’s a stretch pattern, I take off 5% of the waist measurement, this will result is a slightly gathered look. I then put all tolerance to 1cm, to allow the sample machinist to hit the measurement whilst working with the fabric. Then if you think the garment looks too gathered but fits then you would extend the measurement, and if it didn’t fit but looked how you wanted it you would then alter the pattern.
With say the front rise, I take off 1.2cm for seam allowance and measure the pattern, again I leave the tolerance for 1cm for the sample. On the spec sheet if I do this method I always indicate that the spec measurements is taken off the pattern and is for a guide only.
MEASURING A BRIEF
So let’s say we going off taking the measurements from the sample, after you’ve measured the eleven measurements, you need to look to see if you need to extend your spec sheet. In this example shown you can see that the front has an upper lace panel, measurement for the depth of this is needed as well as the depth of the lower panel, (you would also need the width on the waist for the lace), but to keep things simple we’re just looking at one alteration.
I always start with a pre-printed spec sheet, for me to jot down the measurements and sketch a picture, you can go straight to computer, but I find having a hard copy of the first one helps me, as often the other spec sheets don’t get printed out, until the end if dealing with manufacturers via online.
The pre-printed spec sheet can be found in the design sheet pack, it is a pack full of technical PDFs for you to print out and use.

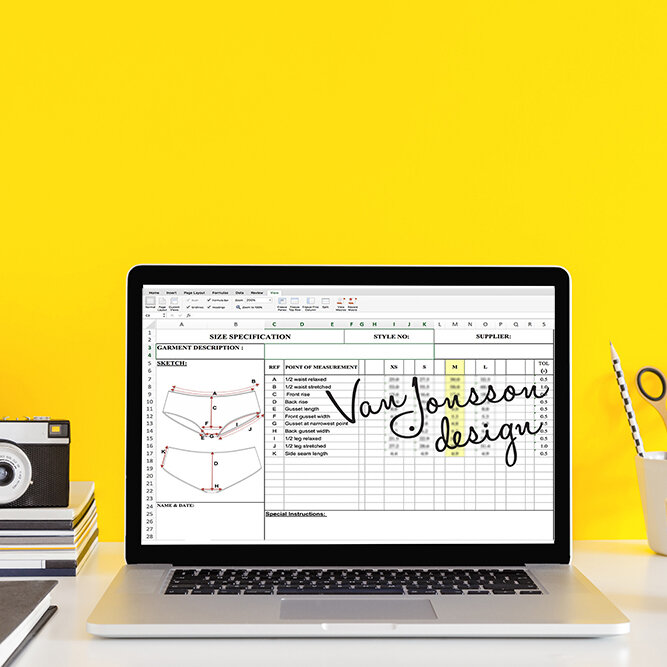
I then will enter the measurements in the computerised spec, again feel free to go straight to this step if you prefer using the computer rather than writing the measurements out. This spec will automatically work out every size for you. It automatically generates every size (if you find that the sample size doesn’t correlate to your sample size let me know and I can send you a spec sheet tailored to your size at no extra cost).
Getting every size is important because you/or your grader knows what to grade to, the samples machinist can make up a different size before going to manufacturing to eliminate any problems. The front on this example had an upper lace panel and by looking at the computerised spec sheet I could see that the front rise increases by 1cm so knew that the lace panel depth would increase by 0.5cm and the lower mesh panel also by 0.5cm (0.5+0.5 = 1)
Pluses of using the computerised spec is that if you have more alterations for your spec sheet then all you have to do is alter your sample size and the spec sheet would then re-work out everything rather than you having to alter each size. For example if you reduce the size seam from 4cm to 3cm then the spec would alter each size rather than you having to manually reduce every size by 1cm.
The key to writing a spec sheet is to use a system that works for you, I’m a big advocator for having my specs computerised (or the standard measurements computerised) rather than hand-inputting each size for the whole sheet.
Find a method that works for you, and the repetitive nature of filling out the spec sheet will gain you speed over time.
Help on spec sheets..
Master the Art of Lingerie Spec Sheets—No Guesswork, No Stress!
Ready to turn your lingerie designs into factory-ready masterpieces? This book is your ultimate guide to writing a professional lingerie specification sheet—without the overwhelm.
With clear step-by-step instructions, diagrams, and industry-approved grading rules, you'll confidently create spec sheets that ensure every stitch, seam, and strap is just right. No more guessing, no more endless Googling.
Inside, you'll learn:
Exactly where to measure bras and briefs for accurate sizing
Key measurements and grading increments used in the industry
You need a Spec sheet to calculate fabric and trim usage to avoid costly mistakes
A well-crafted spec sheet is your secret weapon for smooth production—whether you're working with a factory or sewing your own designs. Plus, you're free to replicate the included spec sheets and start using them immediately.
Don’t let unclear specs hold your designs back. Grab this book now and take the first step toward pro-level lingerie production!
Let’s Keep It Brief – Say Goodbye to Spec Sheet Struggles!
Let’s be real—filling out spec sheets can be a headache. But not anymore!
This automatic lingerie spec sheet takes the guesswork out of grading. Simply enter your sample size, and the sheet does the rest—calculating every finished measurement for you.
If you want to pin the article, please pin below
