
How to make a high waisted 'brief' pattern
Taking the design from the trend influence, a high waisted panel brief, I drafted out a rough pattern. I always start with the front then move onto the back patterns. Writing roughly the information on the pattern. Information such as how many to cut, the stretch, the piece of the pattern, seam allowance and notches. Even though in many cases the information is the same from pattern to pattern, often you come back to them and can wonder what you were thinking so it's best to write, even roughly, all the information.


By putting the centre back and centre front straight, you can see the natural curve of the leg and dart shapes that are at the waist. The pattern was drafted out then seam allowance added, then each piece was lain with the seam allowance over lapping to ensure the curves and lengths of the seams were correct.

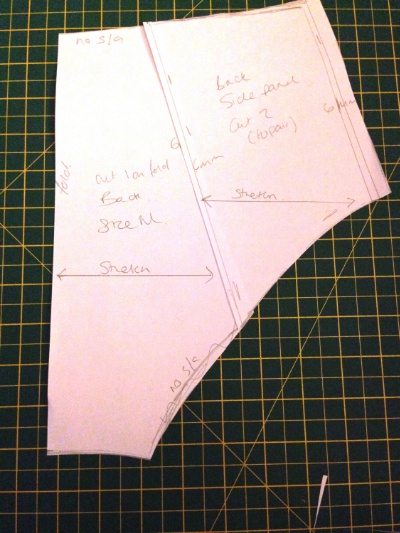
To make a pattern from scratch, ensure that the front pattern and back measure across the waist the same, so once the brief is made up the side seam sits on the side and doesn't pull to the front or back. You can see on my back pattern at the side that i've had to add to the see as it fell short of the front. Also when I put the side back panel to the back main panel, you can see that the back leg needed to be filled in.

Lying the pattern flat, you can see the natural curve of the waist. By looking at the pattern both ways you can see just by looking at it if there are any glaring problems before you cut any fabrics out.