
How to alter a boy pant pattern (adding into the leg)

The first brief got made, and when it got tried on it was a little tight on the front leg, so I had to add 2cm into the leg.

You need to add into the front leg, whilst keeping the waist the same and the side seams to match (so that means you need to add into the back leg so the side seams stay inline so they don’t twist).
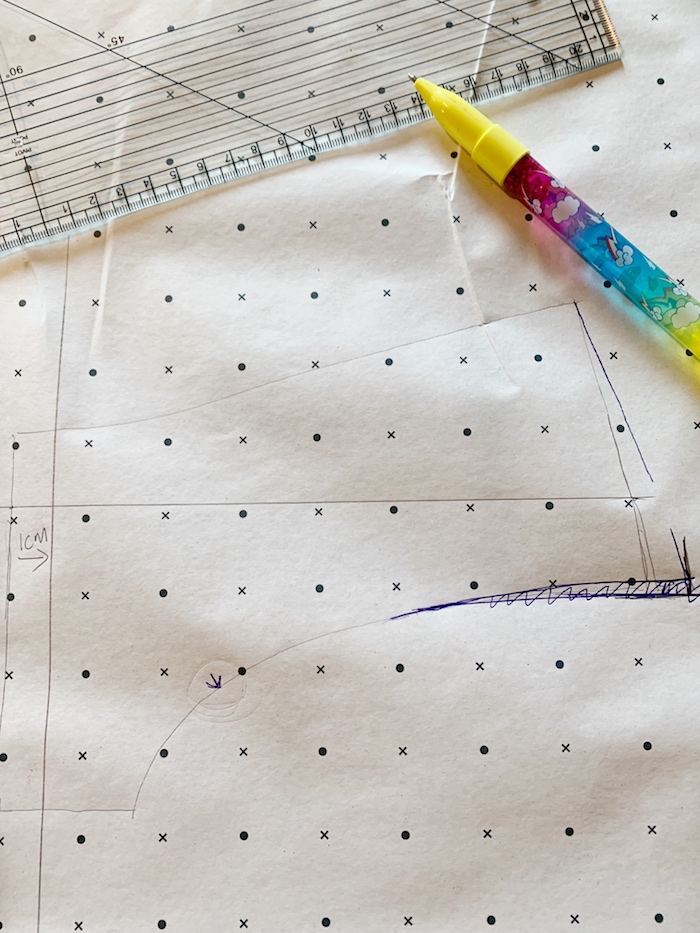
So Step 1: Draw around the front brief and draw a vertical line 1cm away from the centre front.

Step 2: Shift the pattern to the 1cm and draw in the bottom corner.

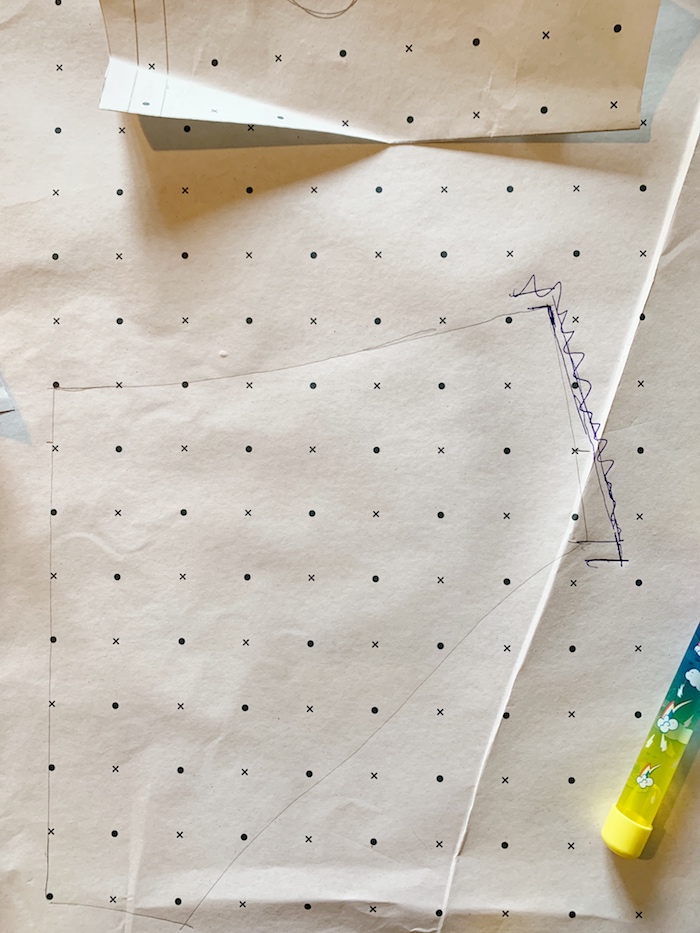
Step 3: Next put the pattern over the drawn pattern, and keeping to waist point together kick out the lower side seam to the leg point that is marked out, and draw the new side seam, this will end up higher than the leg moved out mark.
You are wanting to keep the side seam the same length. (The arrow on this pattern is marking out the mid point of the leg where it was tight).
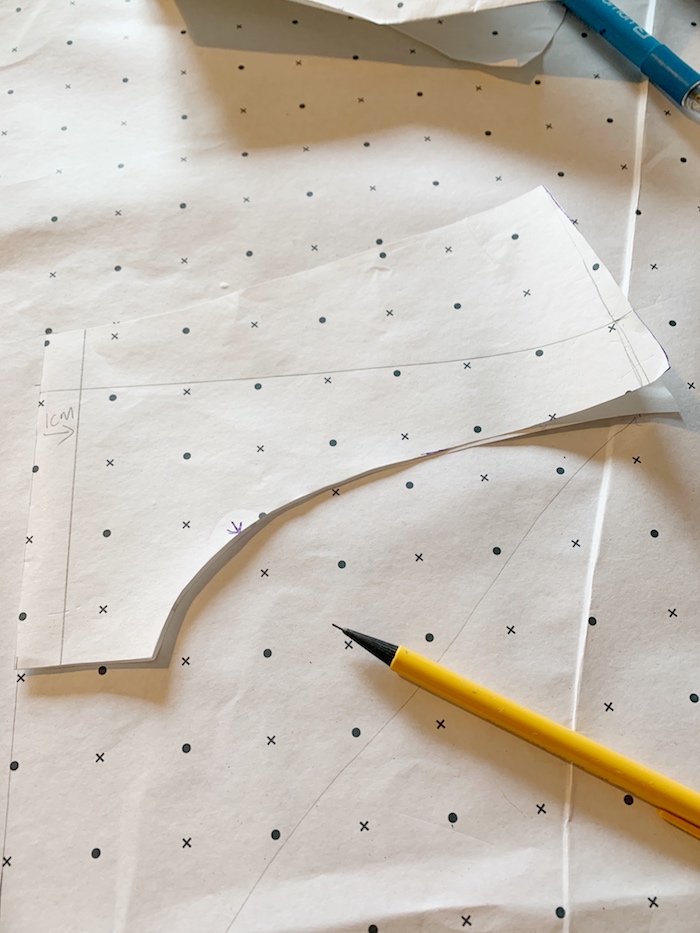
This is your new pattern
Below is the new pattern cut out.
Draw around the back of the brief, put the new front brief over the back pattern and draw the new side seam angle. The reason you do this is so that the side seams are the same angle so that they don’t twist around the body.
New side seam marked in.
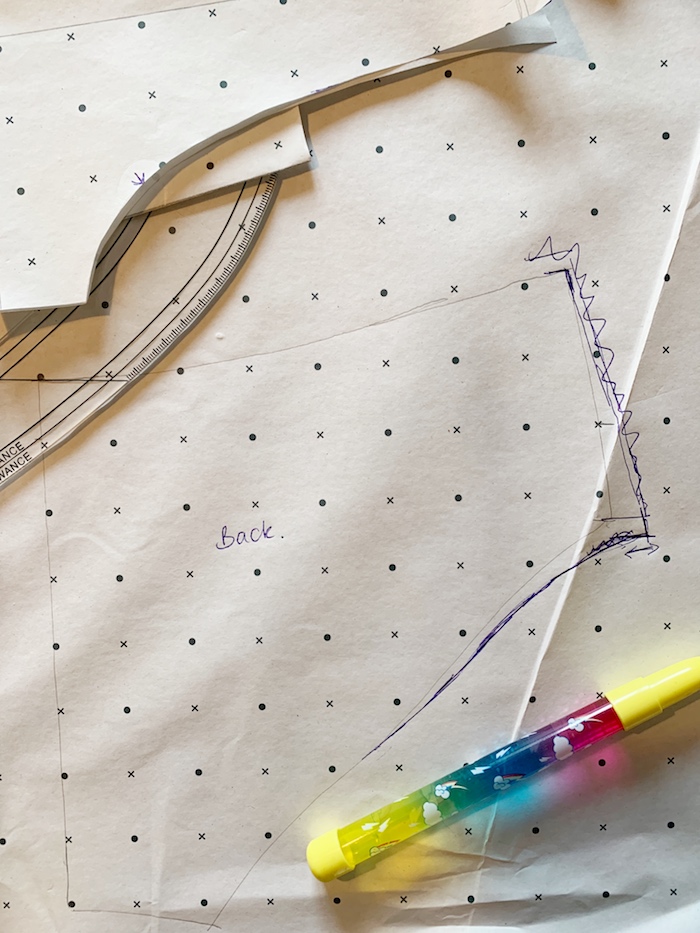
(above) Blend the new side seam into the previous pattern.

New patterns on top of one another so you see how they sit together.
I had attempted to do a step-by-step tutorial on this, but after cutting all the errors out, there wasn;t really that much of a tutorial left.
If you want to see my attempt it’s below.