How to grade a frill on underband of bras or waist of briefs (or bikinis)
When it comes to frills on garments, lingerie included, the frill pattern is cut in a circle. This allows for the fabric to naturally drape and frill when pulled straight to be applied on the garment, which looks beautiful; but how do you then grade this circle to make it the next size up that frills evenly each size and is graded correctly?
You need to add in the grade in within the pattern rather than attempting to add on to the end, so when we grade a bra or brief we grade only a quarter of the garment at a time (1/2 the front or 1/2 the back of the brief or a cup or wing) and so that is what we are going to do with the circle. Around the body increases by 5cm so you need to add in 5cm into your frill.
Grading a frill

1. Fold the circle into a quarter & fold the paper into a quarter
2. Draw guidelines vertical and horizontal on the paper (and circle) then draw adjacent lines to each at 0.6 away, which will add up to adding 4.8cm into your pattern. As a pen line can be 0.2cm width we are not going to chase the 0.2cm
3. Place the quarter circle on each folded edge and then move the circle lines in line with the new lines on your paper. So what this means is that there is a new place where two lines cross on your paper, and you have two lines crossing on your circle. You move where the lines cross on the circle to the new place where the lines cross - I have made the circle transparent (top right) so you can see what I mean.
4. You then need to join your new pattern to the fold of the paper, do this with your pattern to ensure you don’t increase the width of the circle.
If you would like to learn more I have done a video on You tube showing you how this is done.
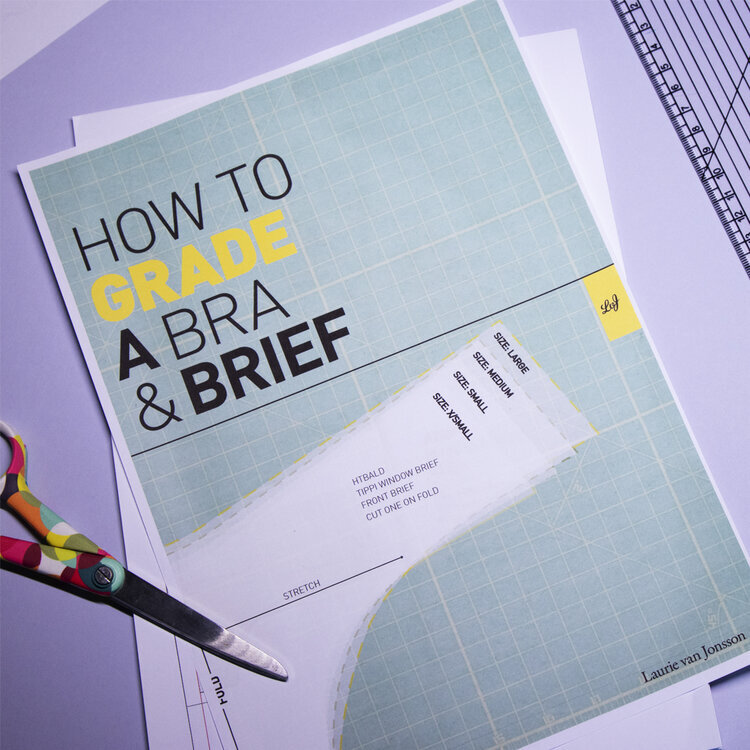
If you wish to learn more about grading, there is a book out which covers ‘How to grade a bra and brief’ there is also a one-to-one course on Grading where by I take you through grading including any patterns you have.