
How to pattern match for your lingerie
There is no doubt that pattern matching when making lingerie not only makes your lingerie look expensive and put together, it can also uplift the look and not look jarring.
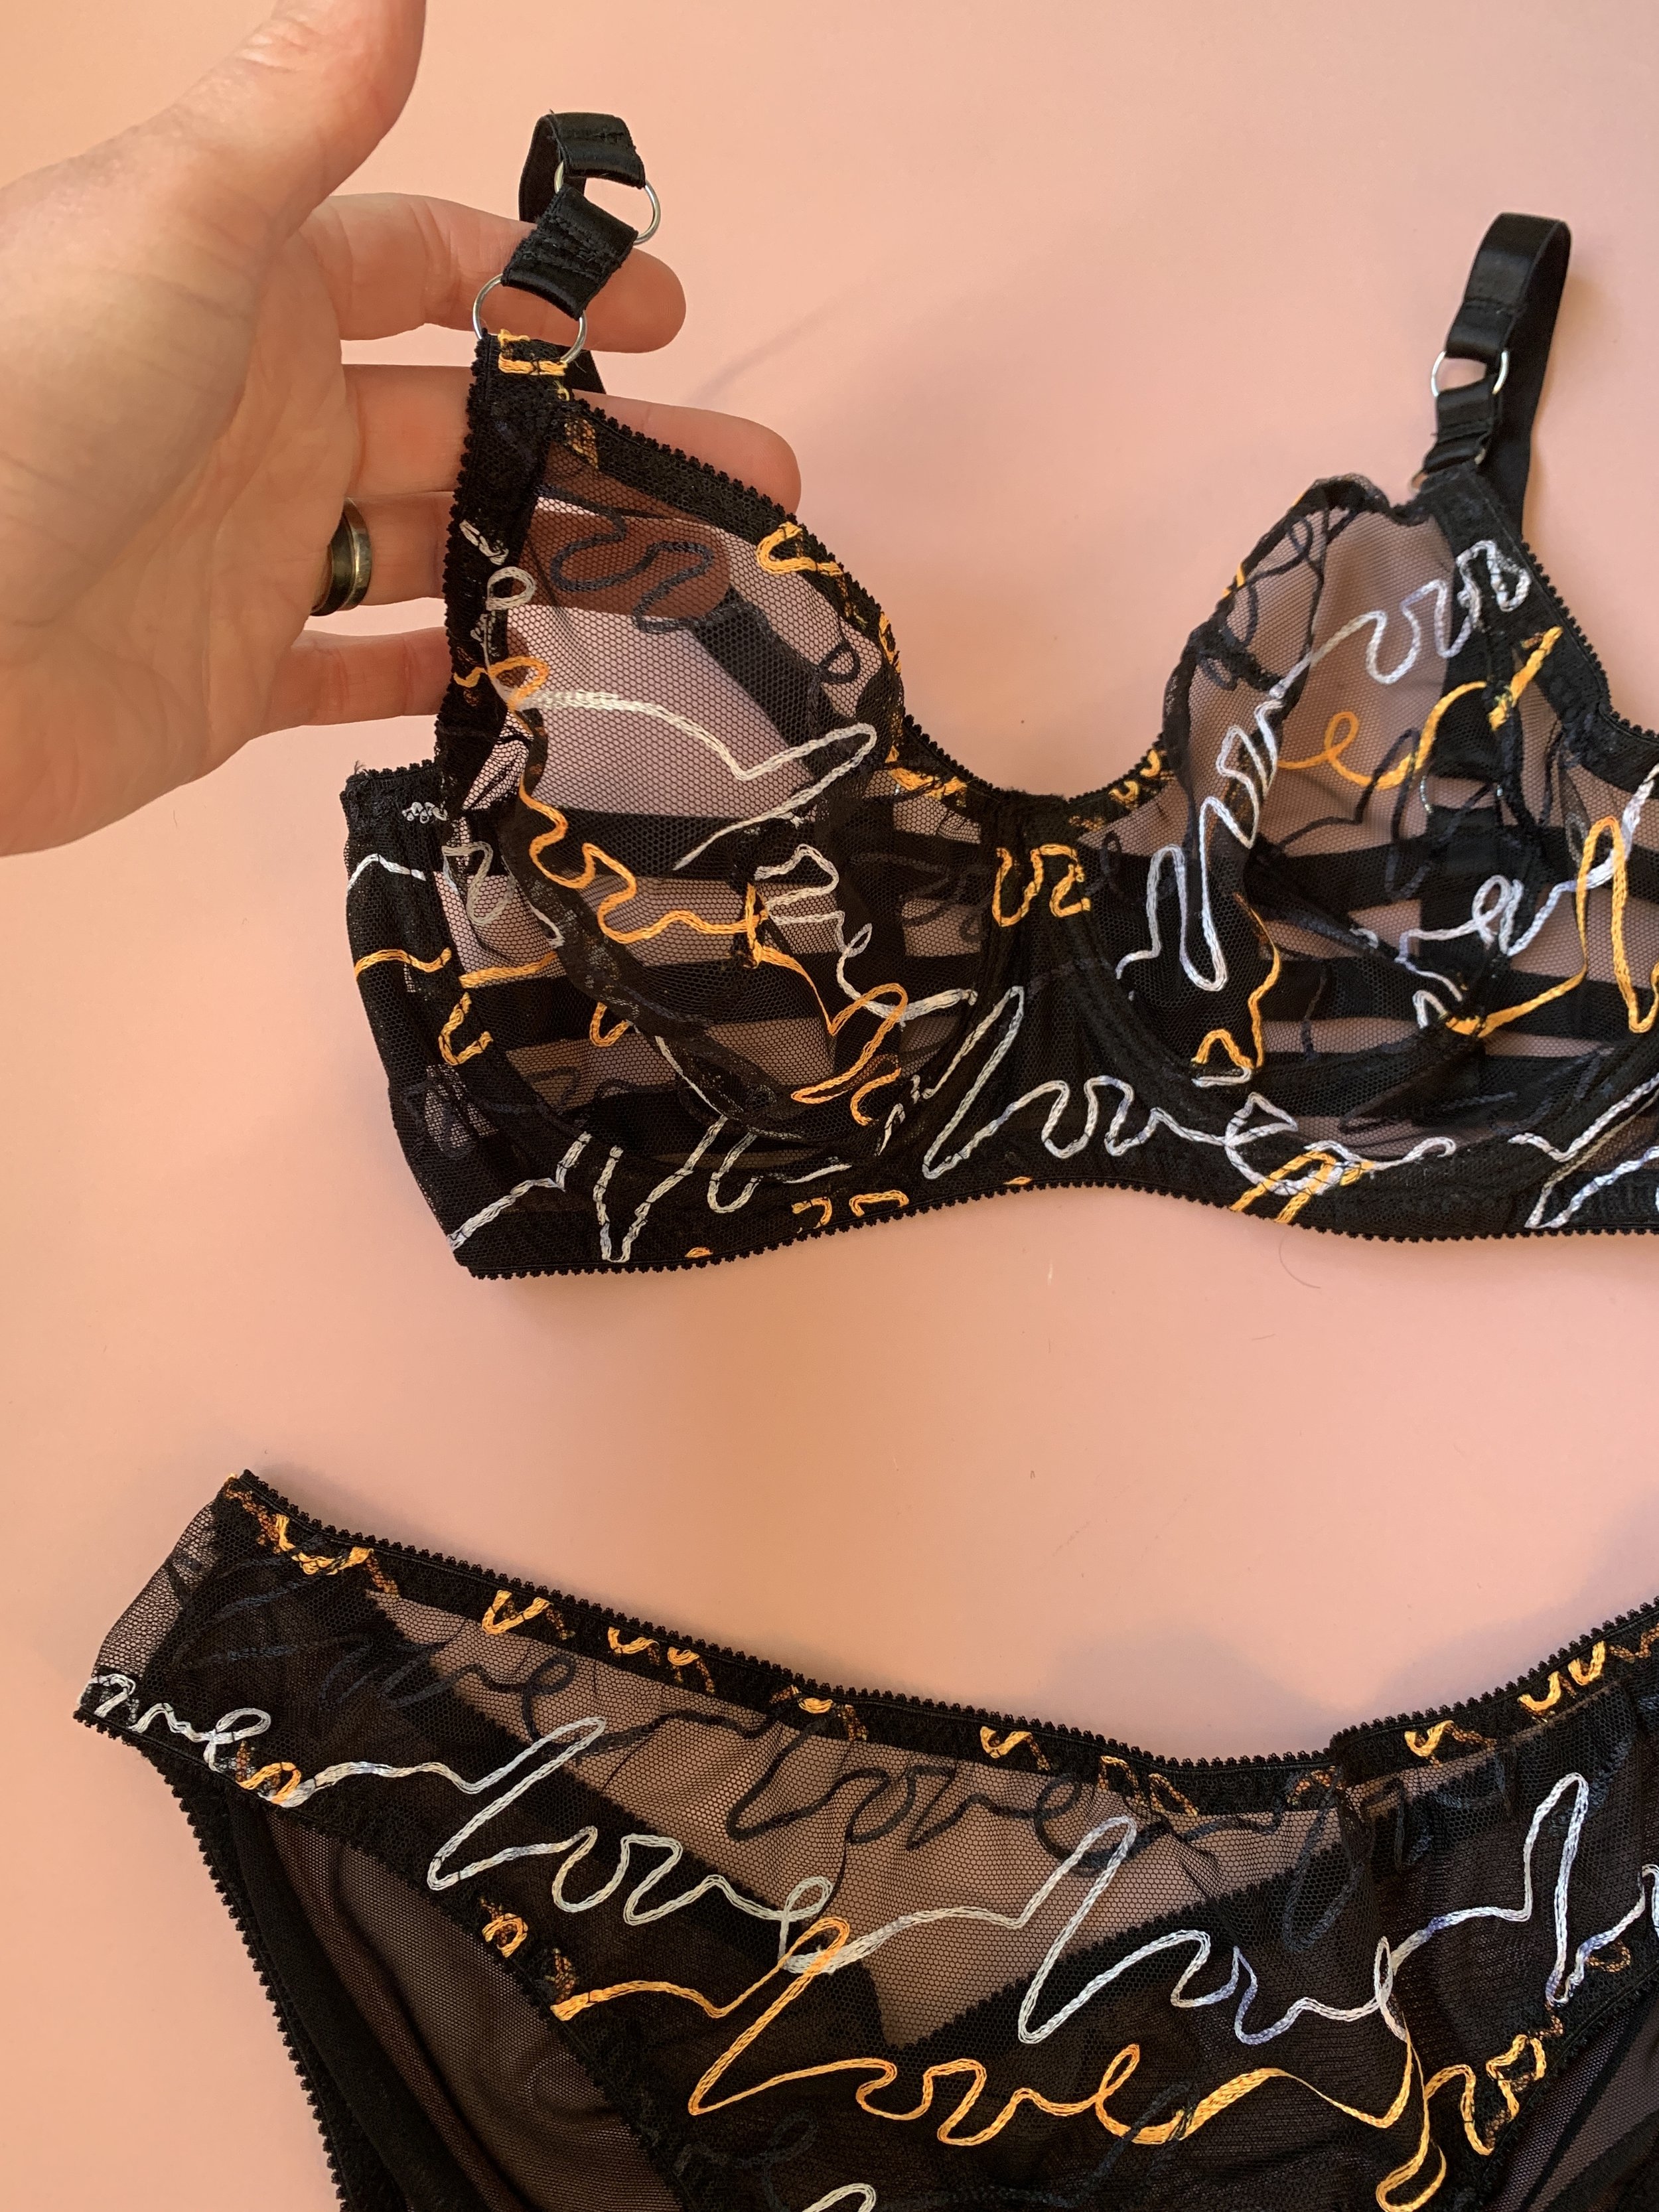
If you look at the bra cup and the cradle you see the word love beautifully matched
There are pros and cons about making the decision whether you want to match your pattern on your lingerie, the pros are outlined above, if you are selling lingerie for a high price it is expected to have your patterns to match and placements taken into considerations. If your brand is about ethical fabric consumption where by the amount of fabric left over you want to be minimal then pattern matching may not be for you, as you have more fabric waste when pattern matching.
How do you match patterns?
You need to decide on where abouts you are matching, if on the straight edge pattern then it’s pretty easy to match all the patterns up. If you are matching on a curved pattern say a bra cup you need to decide whereabouts you want the pattern match to be. I usually make the pattern match at the top of the cup as that is the part you see first. Depending the pattern though see what what makes the most impact, for example on one of my designs I made the word love go across the centre front with matching pattern into the cups.
So how is it done?
It’s a simple procedure, basically the edge that you are matching, both bra pieces need to go through the exact same place on the pattern 6mm (the seam allowance) from the edge.
You can mark this on your paper pattern or you can cut out one pattern piece then lay it on the fabric to match up the next pattern piece.
I’m going to show you using fabric so you can get a visual.

Number two
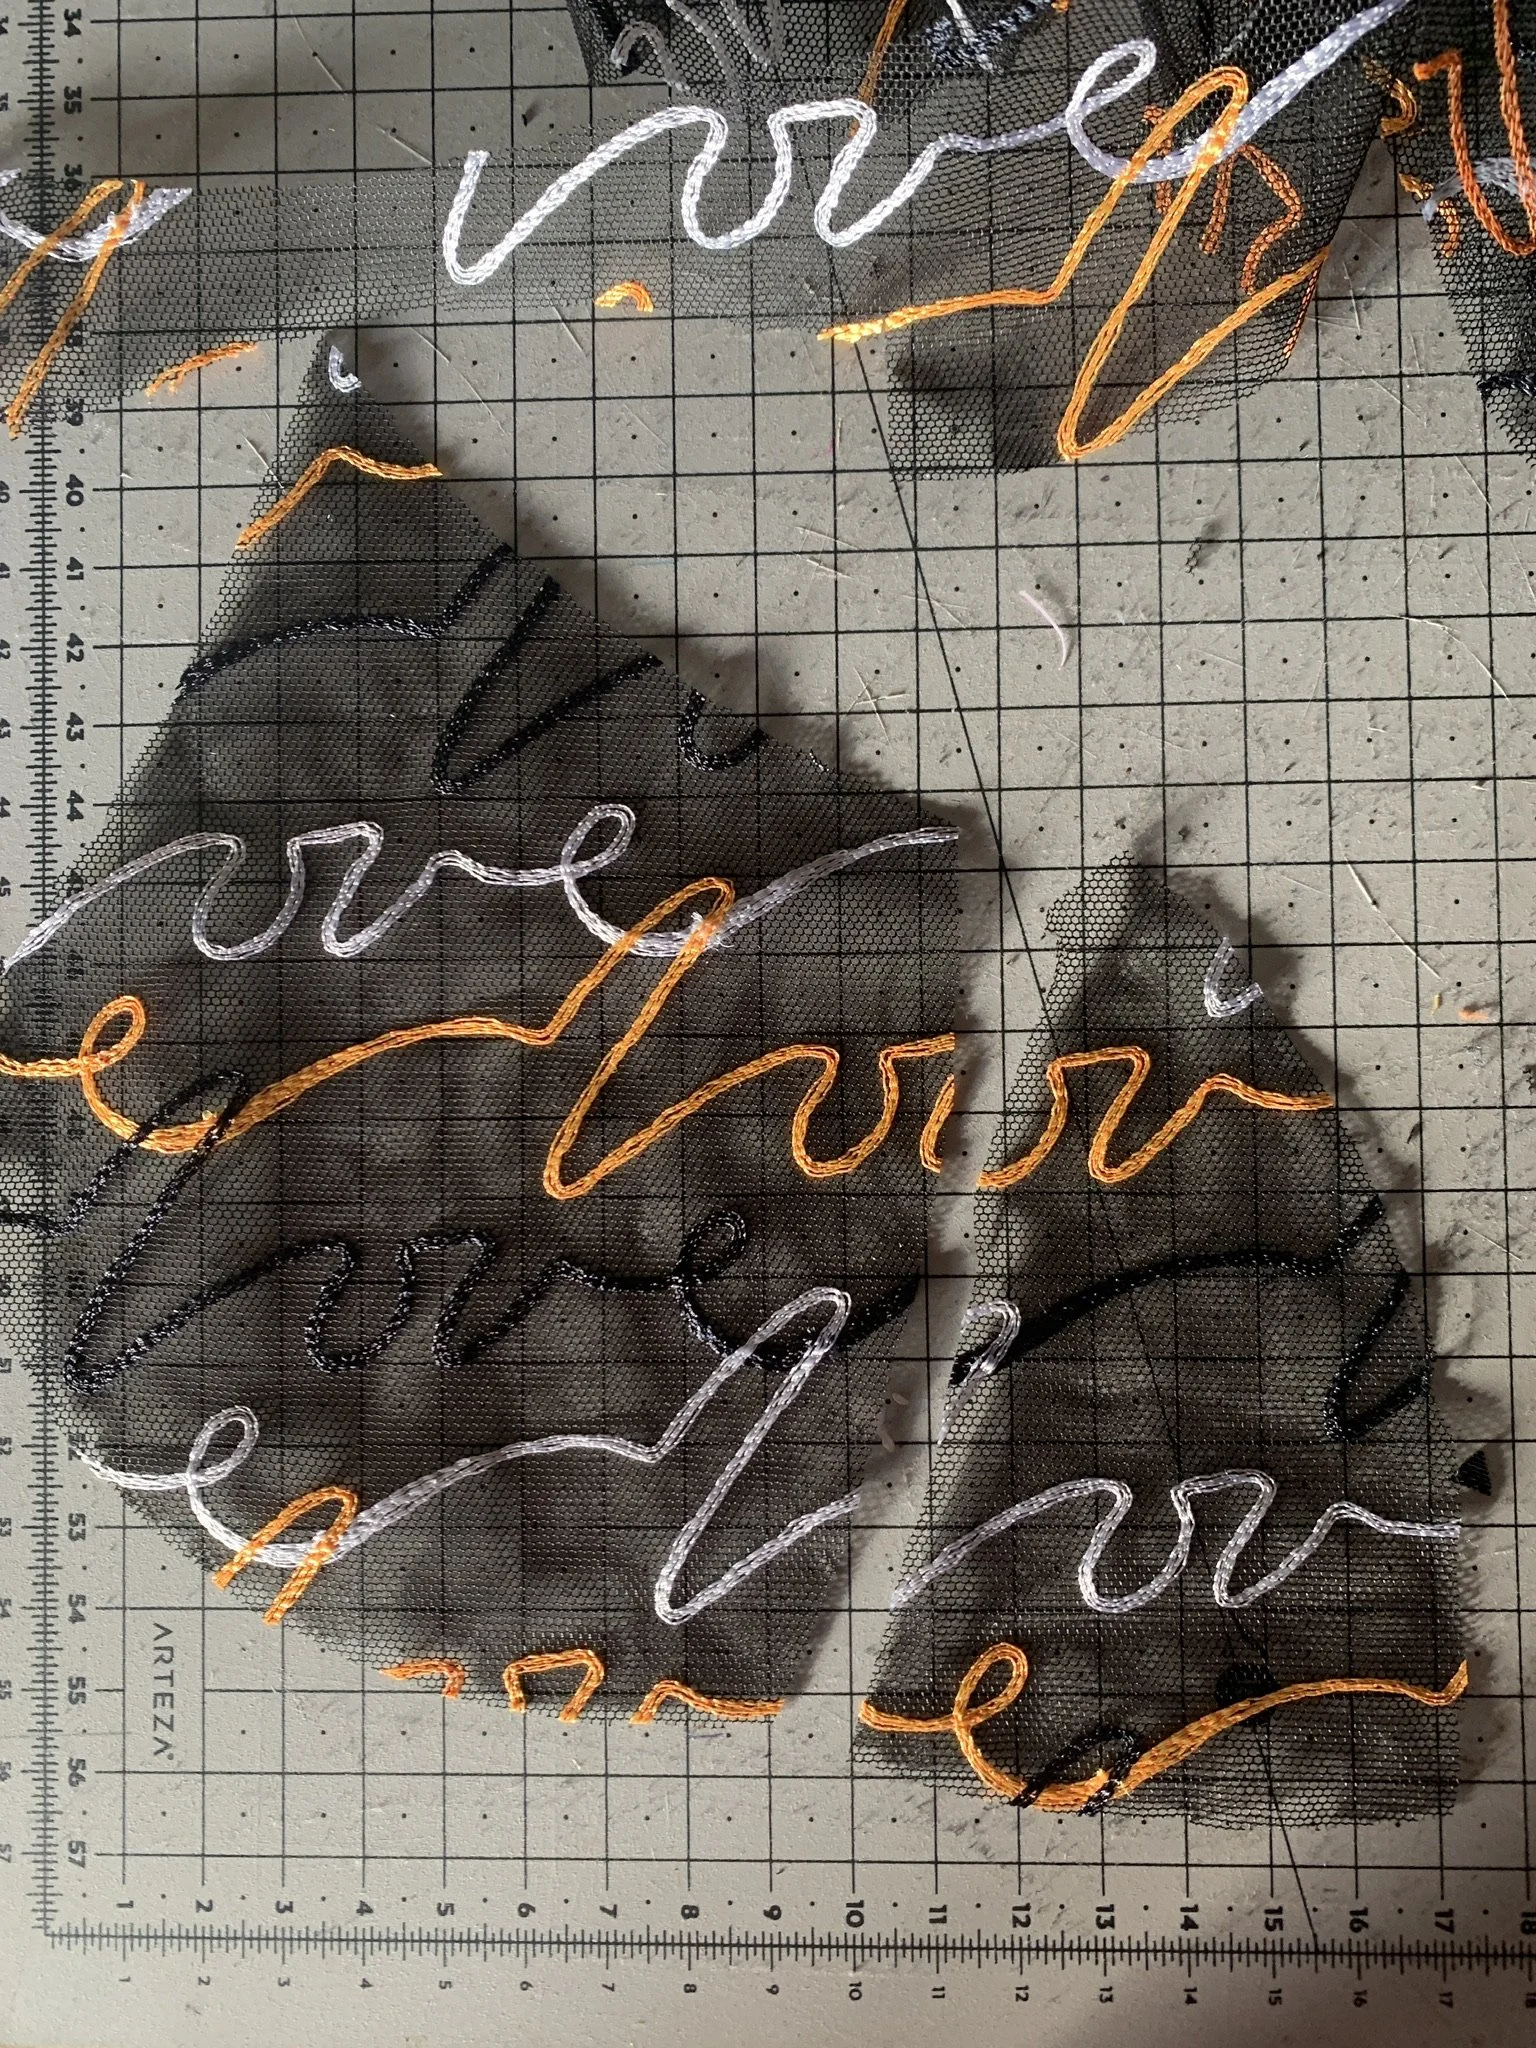
So I cut out one side of the cup
I then lay this on the fabric to match up exactly where you need to put the other cup. so you can see where I need to put the other cup. I have marked the dge and then red dotted line is the seam allowance, it’s at thei point where the other seam allowance on the other cup needs to meet.
I’m laying the other cup over the fabric put under the other cup, the purple line is the edge and the red dotted line is the seam allowance and this matches exactly to the other seam allowance on the other cup.
This shows how the cups sit side by side.
This shows how the cups sewn together, the red arrows show each point where the pattern matches seamlessly.

Number three
Number four cutting out the cups

Where everything matches up.
Where to get everything I used (some of these are affiliated links)